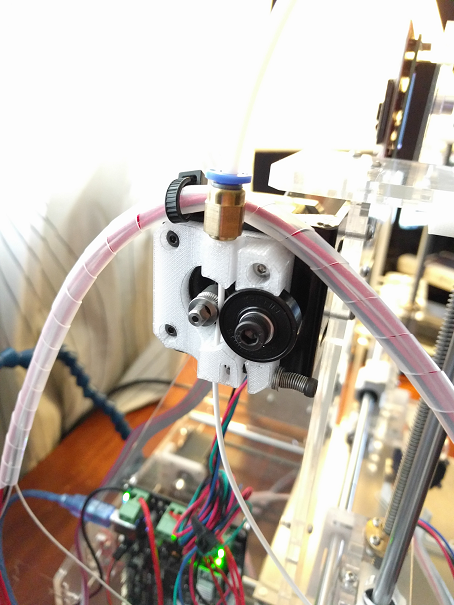
Dropped another upgrade into the printer with wonderful results. The stock extruder drive system doesn't put out nearly enough torque to reliably drive 1.75mm filament, this one is a perfect replacement though! You'll need some other parts:
Parts List
- 608zz bearing — local skate shops will have them if you don't want to wait. Generally useful for spool stands & other projects too.
- MK8 Drive Gear — far better grip on the filament. Benchmark here.
- M5 Manual Tap — to tap out the Bowden fitting.
- 2mm Drill Bit — to open up the filament holes a bit.
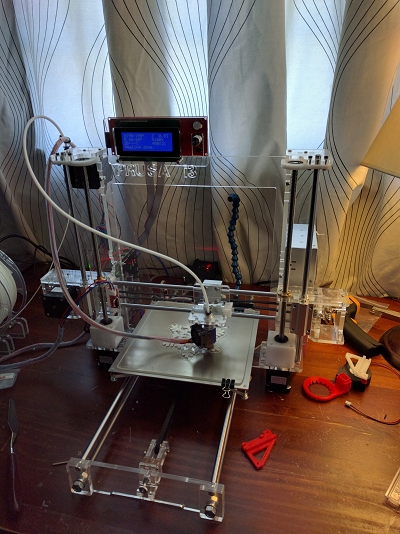
Here's what it looks like all put together:
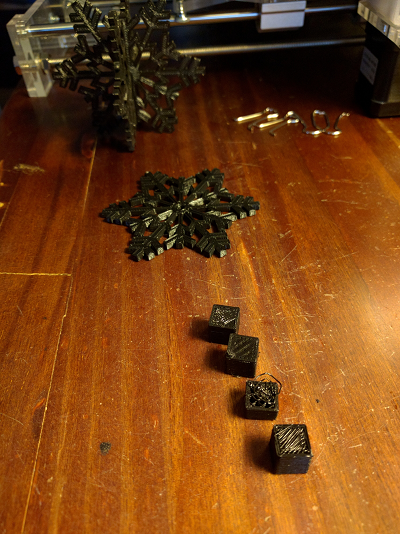
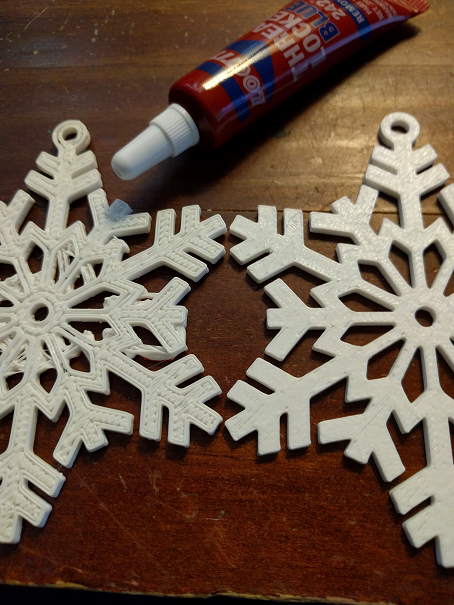
The print difference is quite stunning. The firm grip provided by the new extruder completely normalized the filament to the hot end and vastly improved print quality (old on left, new on right):
Next Project!
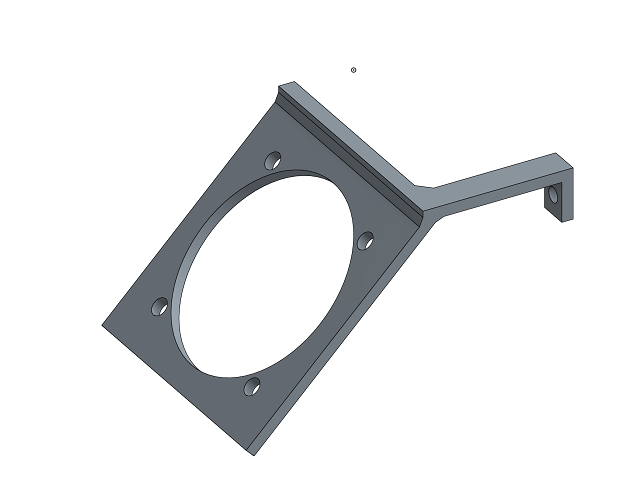
With that, I've moved on to my next project: designing and printing a mount for a 40mm fan to cool the stepper motor drivers. They get sort of hot so I've been running a desk fan on them but want to switch to a nice, quiet Noctua 40mm fan as a long-term fix. I use OnShape for all my modeling and I can't recommend it enough — 100% cloud-based parametric modeling with great training videos focused on making you productive with minimal time investment.
Within a few minutes I had something that looked about right:
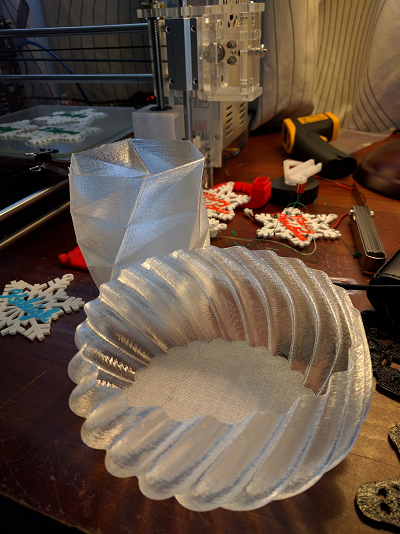
Confident in my printer's ability to reliably drive filament regardless of frequent retractions, I figured it could handle something like this just fine:
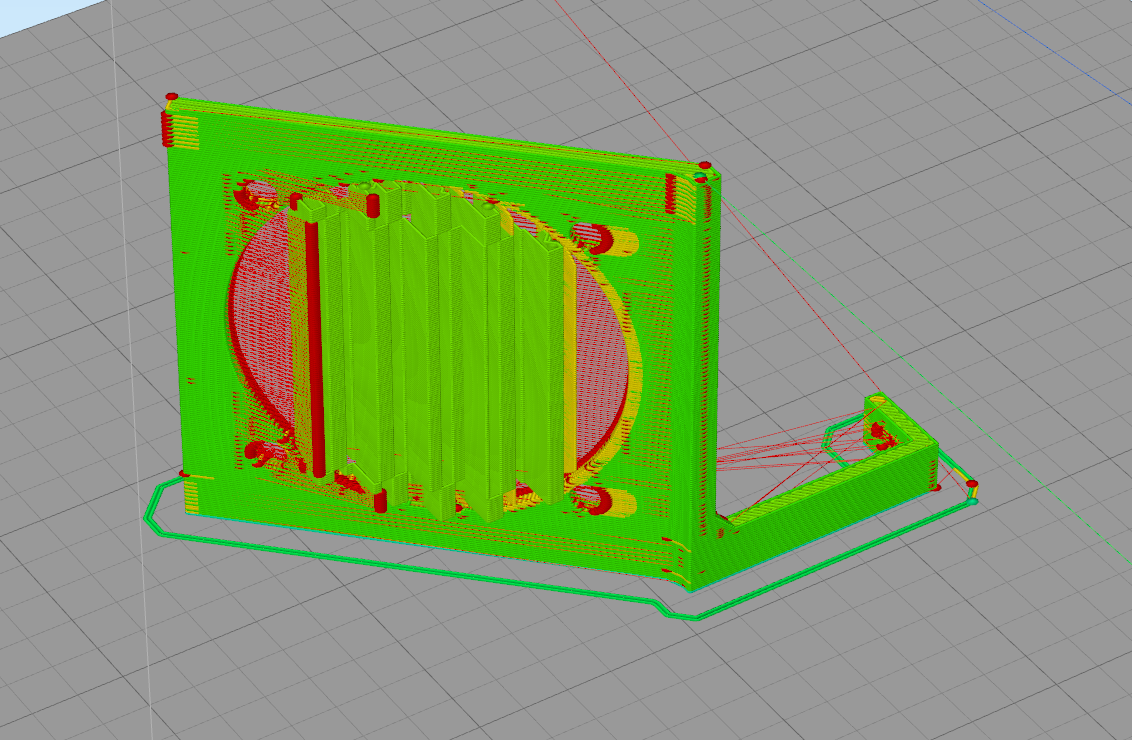
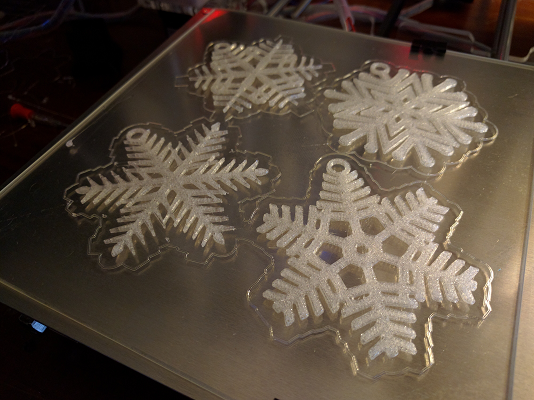
Yep, worked great:
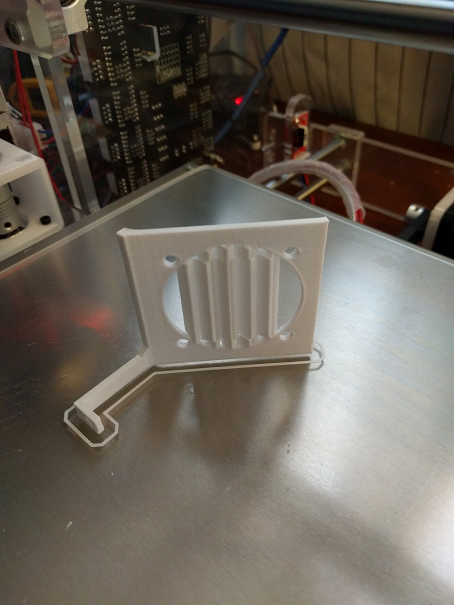
And it fits, perfectly, on the first try:

Conclusion
Putting a bit more time into upgrading this printer is really paying off. I only have one more upgrade left — a Mk3 heated bed — but not really in a hurry to do it since I've only had slight adhesion/warping issues. I posted the design on Thingiverse if you're interested in trying it out. I adjusted a couple of the dimensions down from what you see in the pictures so the extra bits on the sides and top will be minimized.